
Plague Specialist Drawing for Kids
Clinical science has progressed significantly as of late. In hundreds of years gone by, even a gentle disease could end up being deadly, and sicknesses would desolate the land unrestrained. Plague specialists were in many cases the principal line of guard against such plague flare-ups, however they had a somewhat scary and seemingly startling focus on them.
Note: After learning this tutorial visit more Kids 3D Drawing.
This unmistakable clothing they would wear makes it very enjoyable to figure out how to draw a plague specialist, be that as it may! On the off chance that you’re considering the way in which you can figure out how to draw one of these unbelievable plague specialists, then this will be the ideal aide for you to take on. We really want to believe that you appreciate reproducing one of these scary specialists in our bit by bit guide on the most proficient method to draw a plague specialist in only 6 stages.
Stage 1 – Plague Specialist Drawing
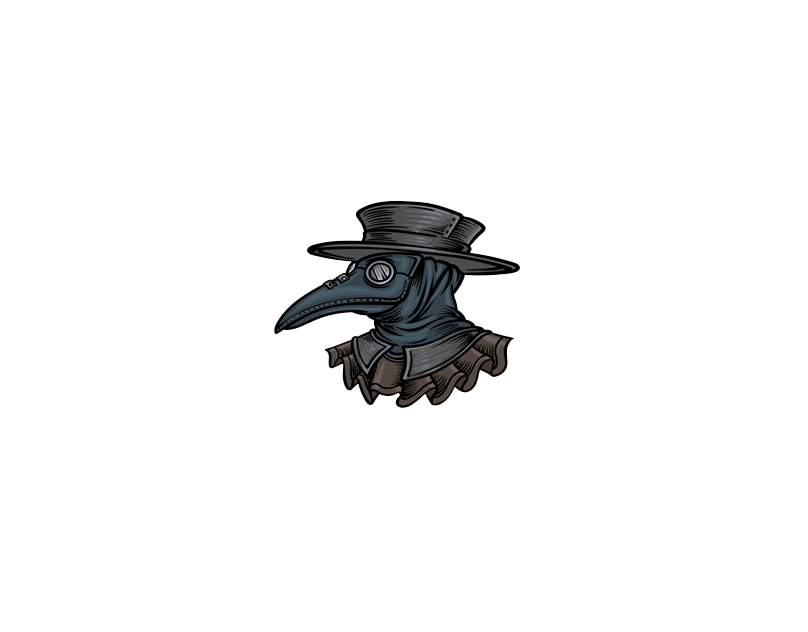
In this aide on the most proficient method to draw a plague specialist, we will zero in on the head, and explicitly the veil, of the plague specialist. This nearby implies that we can truly get in there for certain better subtleties, however stress not as we will take it pleasant and gradually. You can begin by drawing a little circle, and afterward add another along the inward border of it. Then, at that point, add a straight lines inside the inward circle to show that it is a glass focal point.
We will then utilize a few bended lines to make the rough, delicate piece of the veil that will cover a large portion of the plague specialist’s face. Then, we will polish off by drawing the mark cap. You can involve an adjusted line for its level edge and afterward add the level top for the cap, as it shows up in the reference picture. There will be a few spots and other line subtleties added to it, and afterward we’re prepared for stage 2!
Stage 2 – Presently, draw the nose of his cover and add subtleties to the cap
Plague specialists would frequently wear a nose like cover, and it is accepted that these mouths would be loaded up with spices and dried blossoms that were accepted to forestall plague. We will add this nose to your plague specialist attracting this step. Utilize a few bended, long queues approaching the focal points of the cover to draw the top portion of the mouth. Then, at that point, we will draw the base portion of the mouth to polish that off, and afterward you can define a few bended boundaries in the rough part around it to give some wrinkle surface. At long last, add a few level lines to the cap to add some surface detail for it too.
Stage 3 – Next, draw some a greater amount of the neck of the cover
Progressing forward with this aide on the most proficient method to draw a plague specialist, we will currently be expanding the cover further down a little. Add a few additional wavy, twisted lines for some rugged detail, and afterward you can draw what will be the collar for his veil. This is a section that we will add a more detail to in a later step. When you have these parts looking as they do in our reference picture, we will be prepared for stage 4!
Stage 4 – Presently, draw the unsettles of his collar and add some detail
For this and the subsequent stage of your plague specialist drawing, we will polish him off with the last subtleties and components. In this one, we will finish the diagram for the cover and collar.
Utilizing a few additional bended lines, draw the sleeve of the collar on the left-hand side. Then, utilize a few additional bended lines to make the different folds of the unsettles jabbing out underneath this veil. Once these are drawn, we will likewise add a subtleties to the launch of the cover. You can define a boundary along it and afterward add a specks within this area to show the crease of where the cover is developed. Then, you will be prepared to add some last contacts in the following stage!
Stage 5 – Add a last subtleties to your plague specialist drawing
In this fifth piece of our aide on the most proficient method to draw a plague specialist, we will add the last little contacts and subtleties to truly polish it off. In our model picture, we added a few bended lines along the folds of the unsettles underneath his veil. These assistance to give a touch of concealing and collapsing subtlety.
Whenever you have drawn these subtleties, it ultimately depends on you to add any more that you might need! There is a great deal that you could do to do this, and a few models is add a more to the outfit or to make a foundation behind him.
Stage 6 – Polish off your plague specialist drawing with some tone
Presently it is the right time to polish off your plague specialist drawing by adding a variety to the picture. In our reference picture, you’ll see that we utilized a fairly dull variety range. We utilized blacks and dull grays to finish the dim look of this outfit, yet we kept it fascinating by involving various shades for surface and concealing subtlety.
Also Read the post share


